 |
 |
|
|
Members
Fishing
Information
Other
|
Library of Knowledge
Suspended Floating Rig
There are several names for this type of rig depending upon the various uses. Rather it is a drifting, jigging off the bottom, suspended float or a creeping rig. Here is some of the history and what
I have learned experimenting with it. Back in 2002, It all started out for me by putting a simple wine cork in the middle of the leader as the concept was to hold the bait off the bottom. We cut the
corks in quarters, halves and even left them whole for the various floatation rate. We tried soaking the cork in all kinds of various attractants figuring that the cork being a porous substance
would soak it up and release the scent. Finally, we come to the conclusion that this does not work all that well and best to just infuse the bait instead.
Later, I decided to use one of those little hollowed out Styrofoam bobbers that has a plastic pin in it doing the same thing as the cork and toothpick. Saved allot of time as now I don’t have to
go to the trouble of drilling out the cork although it added another twenty cents to a quarter to the rig cost. Due to the several sizes of bobbers of this style, you will have to experiment with
the size of bobber vs. the size of weight used. Other variants will be the current when anchored as to the depth of hook suspension heights. If you are just floating or drifting with the current
this will effect this combination also.
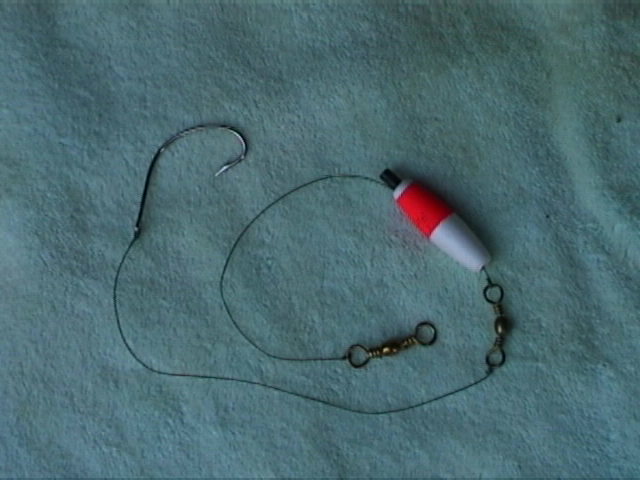
I use a 3/0 swivel tied with all palomar knots to 16 inches of line. Thread the bobber on and put the pin in the upline hole to secure it from slipping. Then I will tie on another 3/0 swivel which
will make that part of the rig about a foot long.
The reason being is that sometimes the bobber will spin opposite the bait and make a rats nest out of the leader without this added swivel. Now tie on your heavy leader rather it be wire or usually
80 pound Power Pro to the hook. I like to keep this part about a foot to 16 inches to the hook that will vary depending upon what size fish I am targeting. Line selection for this part is the
crucial part as it will be taking the most abuse from the fishes mouth. Finally to complete the rig, tie the hook leader part to the bottom of the other swivel again with a palomar knot.
There are several ways you can now tie it on the main line. The first is the "Carolina Rig" with a slip sinker above this rig or making up a 3 way rig by tying the weight off the main and
the rig with another palamar knot how ever high up you want it. When running "Carolina Rig" style, I found that you have to set the hook harder to take up the slack of the line as the
weight is on the bottom of the river and rig floating up is the decision on which rig style where your weight goes. In this case, you will never know exactly how much line there will be. The other
style by tying the rig to the line in the 3 way effect, you know from the hook to the weight exactly that will determine where the bait will be.
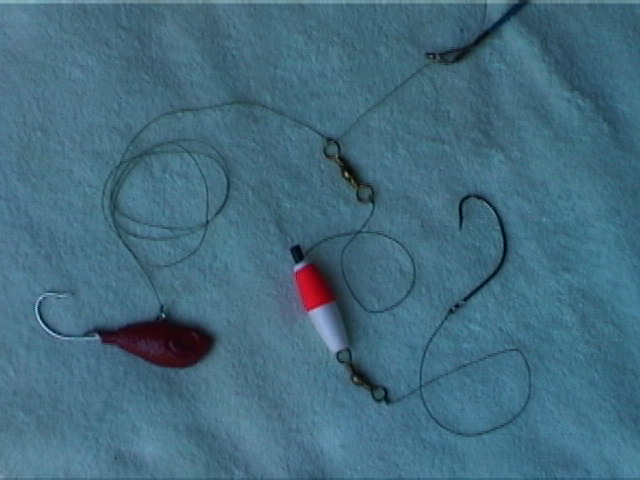
In the past few months, I have taken this rig even one step further than most. I will still use the 3 way set up by tying the leader off the main line to the depth that I want it to float up from a
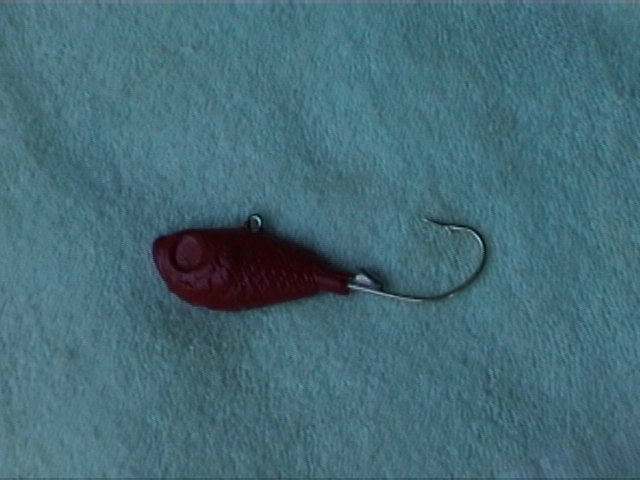
weight that will either bounce along the bottom or I can reel in slowly suspending it even more. Instead of adding the weight, I will use a 2,3 or 4 ounce jig to get it down where I want it.
This now gives me two hooks that I can combo up my bait selections. I have been doing a personal study of the various colors for the jigs for several years as I could not find any research out there
on this subject for Catfishing. Red and Blue appear to work the best.
Now you have the best of all worlds. Jigging/drifting and suspended floating that gives you more options on baits using colors on the jig that will attract.
Welcome to the Sport of Catfishing!
TeamWhiskers August 12, 2007
Thank you for visiting.. |


